
Step-by-Step Guide for Removing Dip Nails at Home
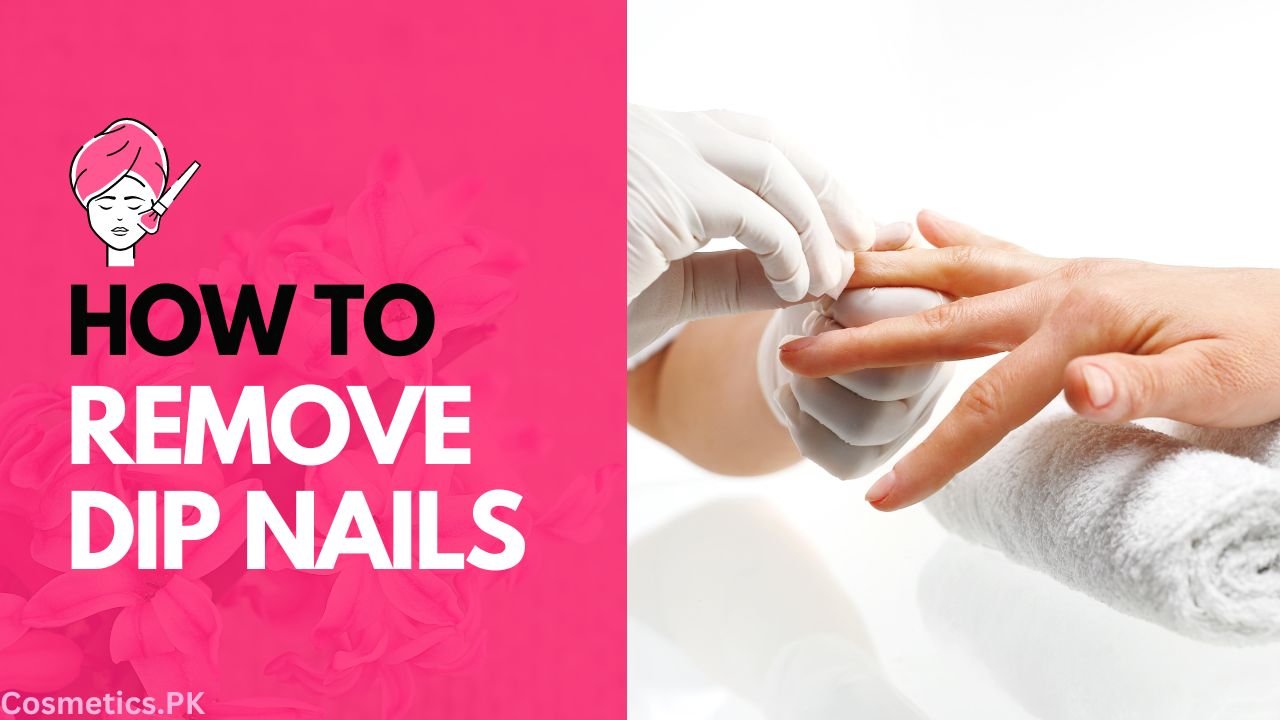
Looking to remove your dip nails at home? Look no further! This step-by-step guide has got you covered. From discussing different methods, such as the foil-wrap technique and using acetone, to providing aftercare tips, this informative article is your go-to resource for safely and effectively removing dip nails. With an included infographic detailing the necessary steps, you’ll have everything you need to maintain healthy nails and avoid damaging the nail bed. Don’t forget to finish it off by moisturizing and nourishing your nails with cuticle oils and serums. Say goodbye to your dip nails with confidence by following this handy guide.
A Comprehensive Guide to Removing Dip Nails at Home
Are you ready to say goodbye to your dip nails and give your natural nails some much-needed TLC? Removing dip nails at home can be a straightforward process if you follow the right steps and use the appropriate techniques. In this guide, we will walk you through three different methods for removing dip nails, as well as provide essential aftercare tips to keep your natural nails healthy and strong. So, grab your supplies and let’s get started on achieving gorgeous, au naturel nails!
Preparation
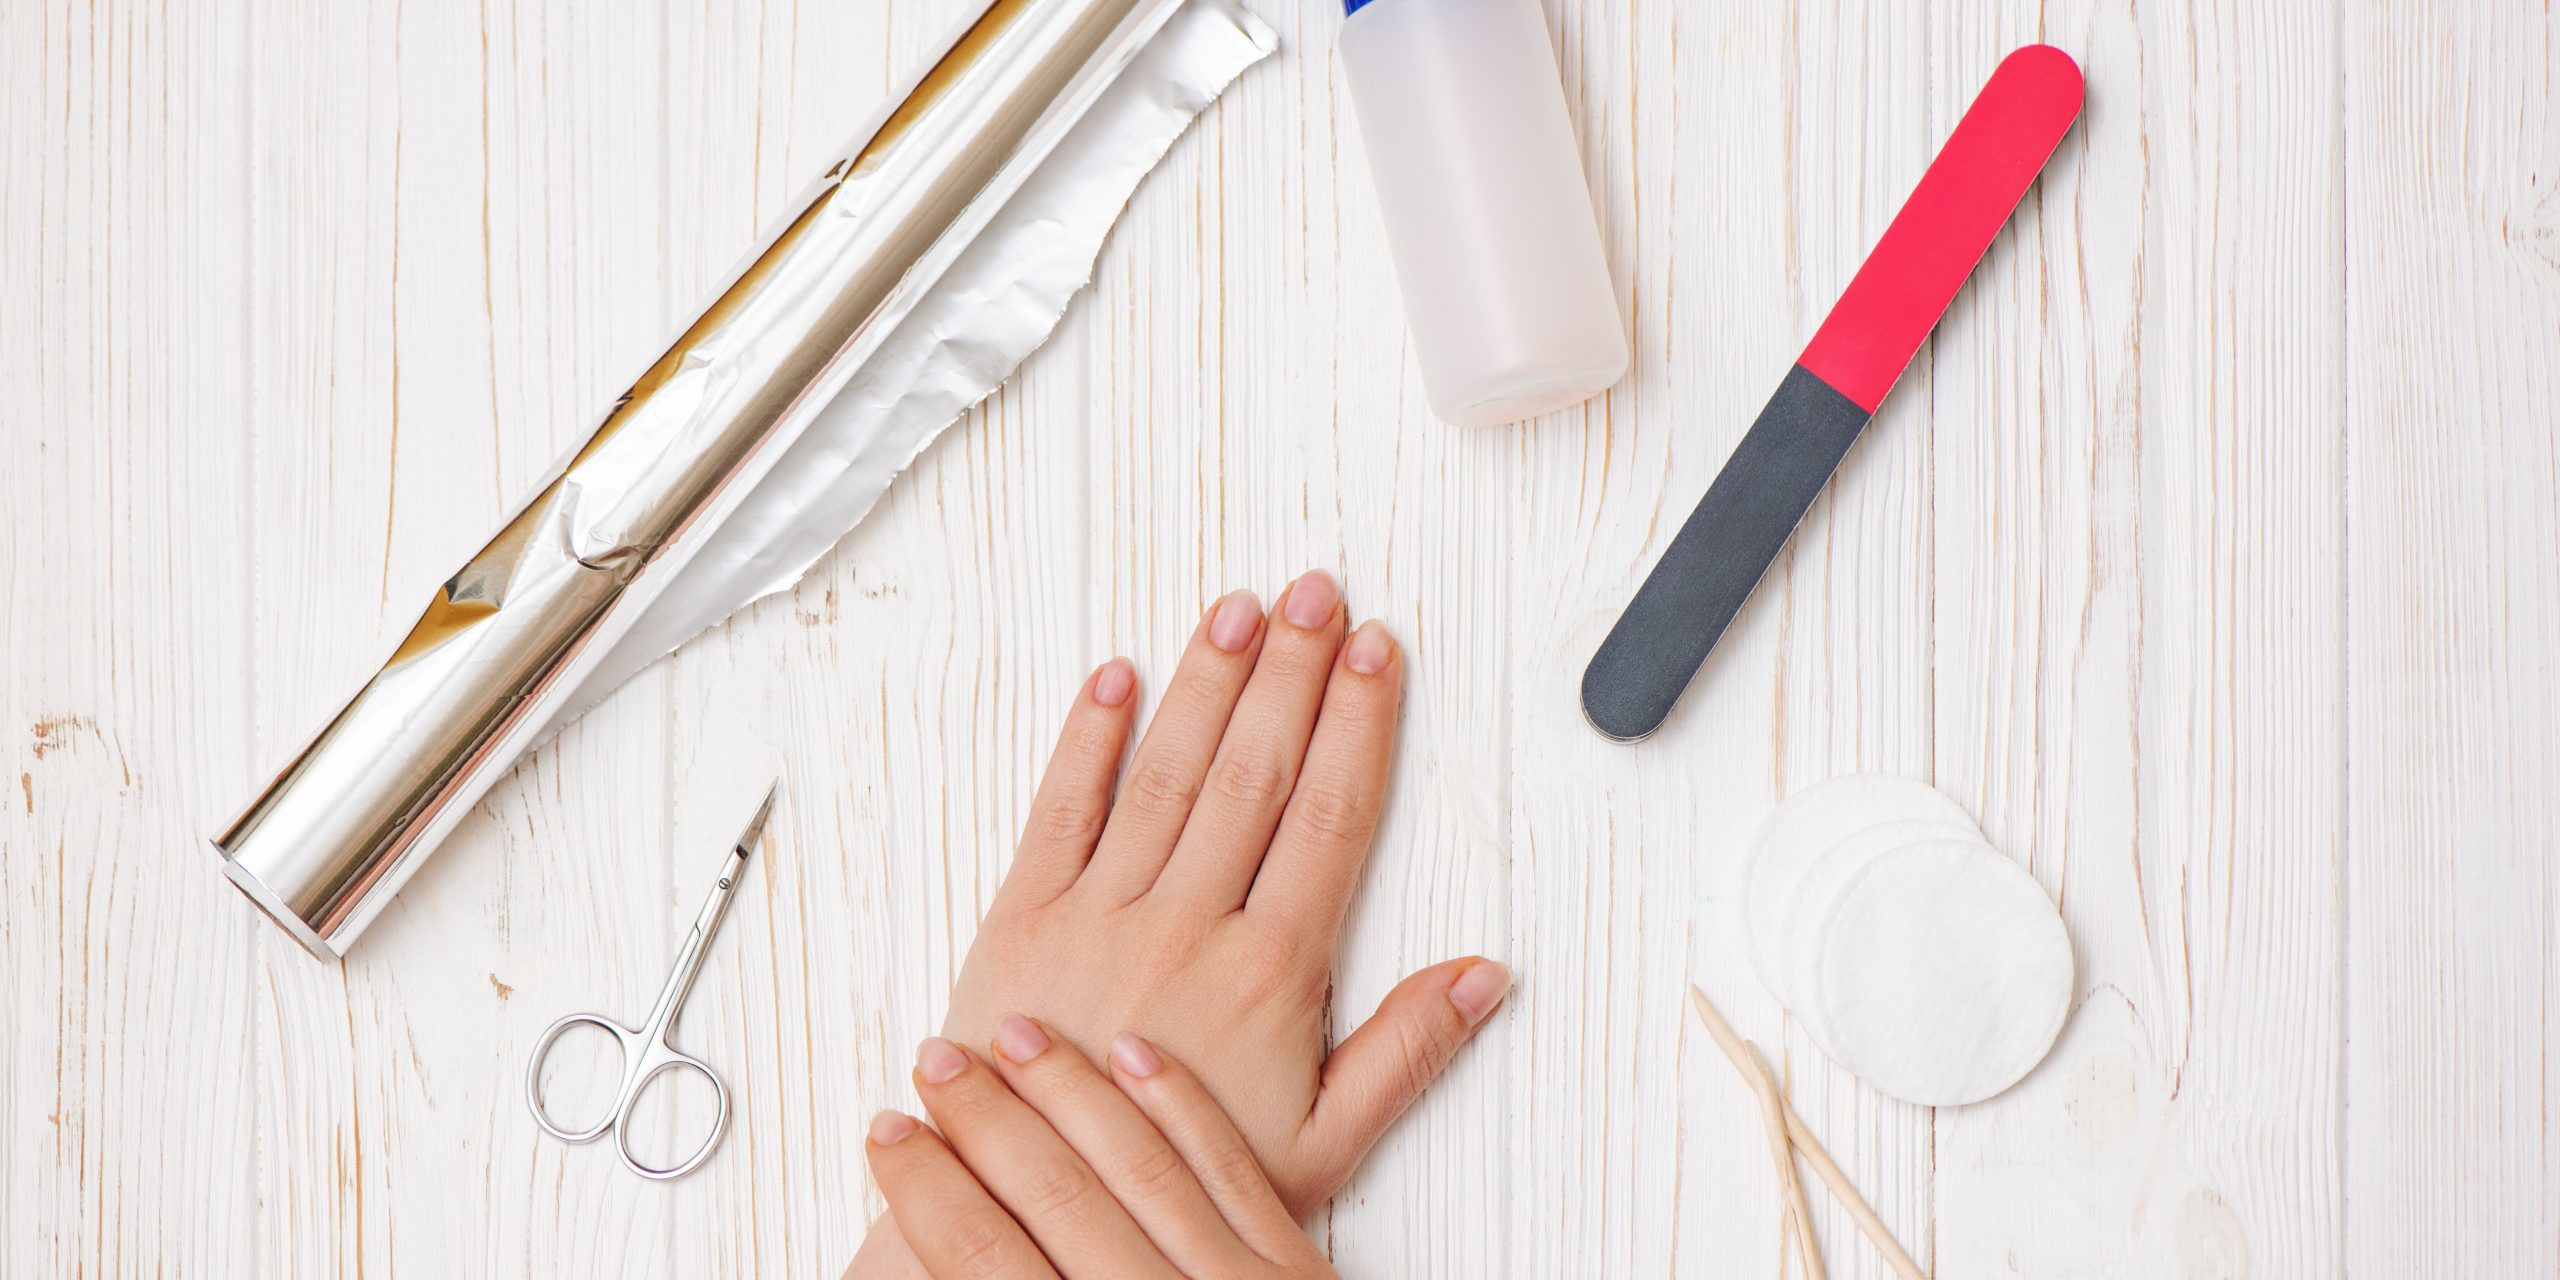
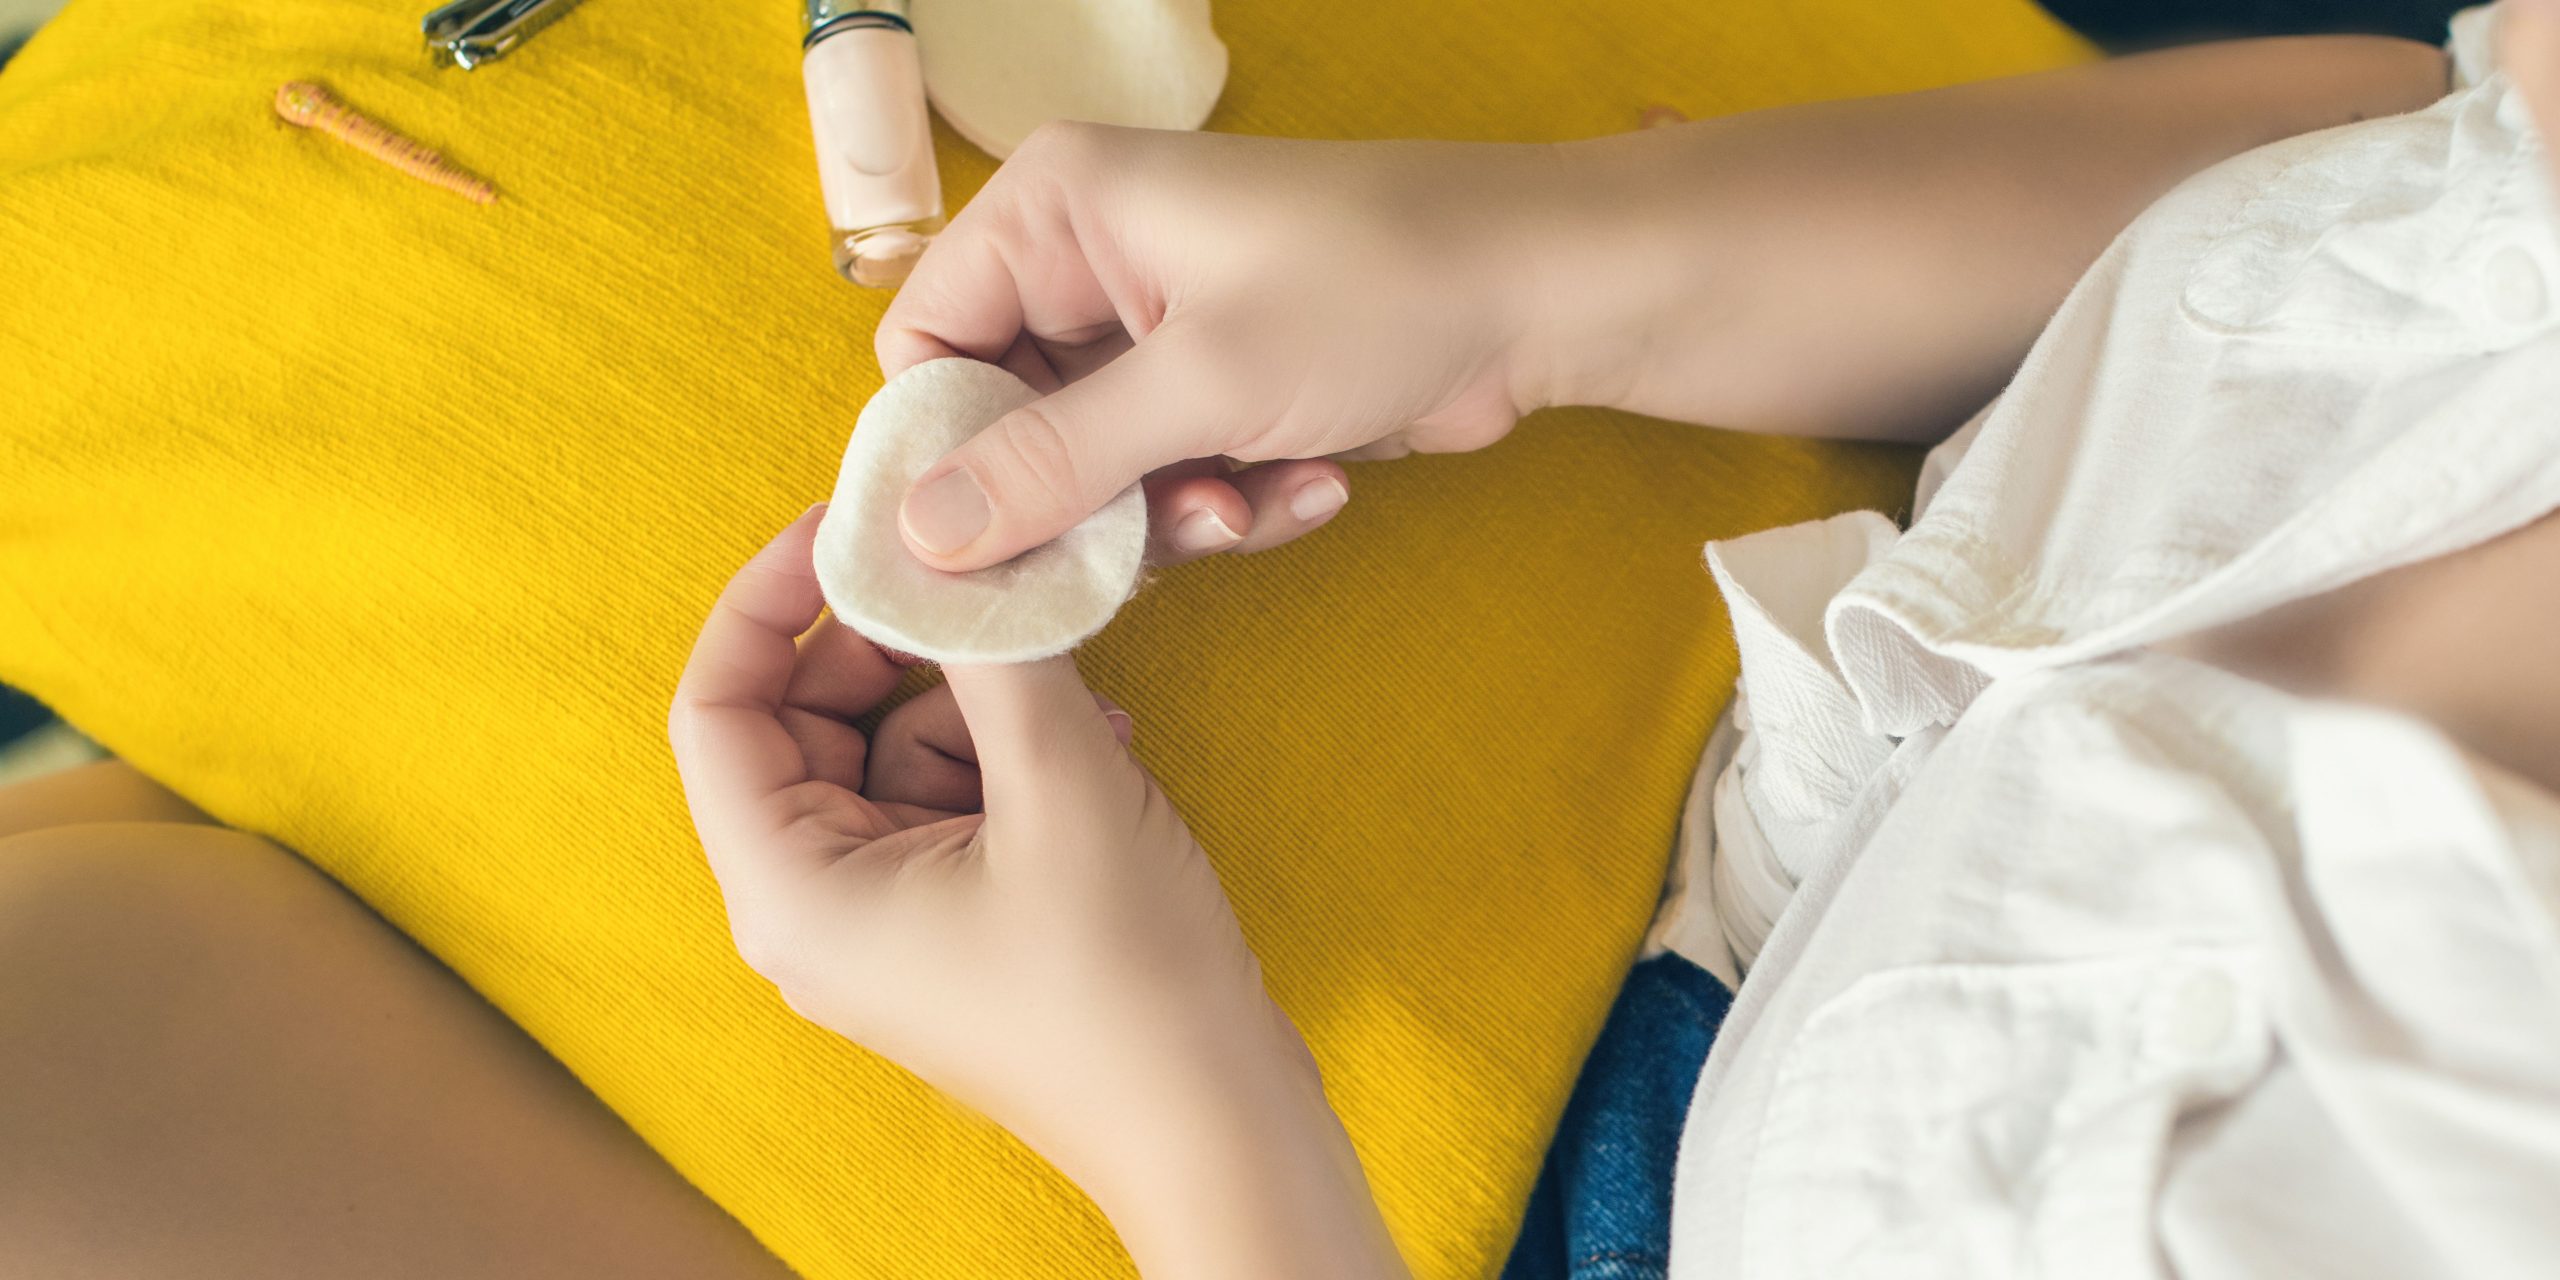
Before diving into the removal process, it’s important to gather all the necessary materials and create a comfortable, well-lit workspace. Here’s what you’ll need:
Gather all necessary materials:
- Acetone: This powerful solvent is crucial for effectively breaking down the dip powder.
- Aluminum foil: It will be used to wrap and secure the soaked cotton pads to each finger.
- Cotton pads: These will be soaked in acetone and placed on your nails for the removal process.
- Cuticle pusher: It helps in gently removing the softened dip powder from your nails.
- Buffing block or nail file: You’ll need this to lightly buff the surface of your nails before removal.
- Nourishing cuticle oil: After removing the dip nails, it’s essential to replenish and moisturize your nails and cuticles.
Create a comfortable and well-lit workspace:
Make sure to find a quiet, well-lit area where you can comfortably remove your dip nails. Having good lighting will help you see the entire nail surface clearly, ensuring a more precise and effective removal process.
Now that you’re prepared, let’s explore three different methods for removing dip nails.
Method 1: Foil-Wrap Method
The foil-wrap method is a popular technique for removing dip nails. It involves soaking the nails in acetone while wrapped with aluminum foil to create a more concentrated and efficient removal process. Here’s how to do it:
Step 1: Buff the surface of the nails
Using a buffing block or nail file, gently buff the surface of your dip nails. This step helps in removing the shiny topcoat and allows the acetone to penetrate the dip powder more effectively.
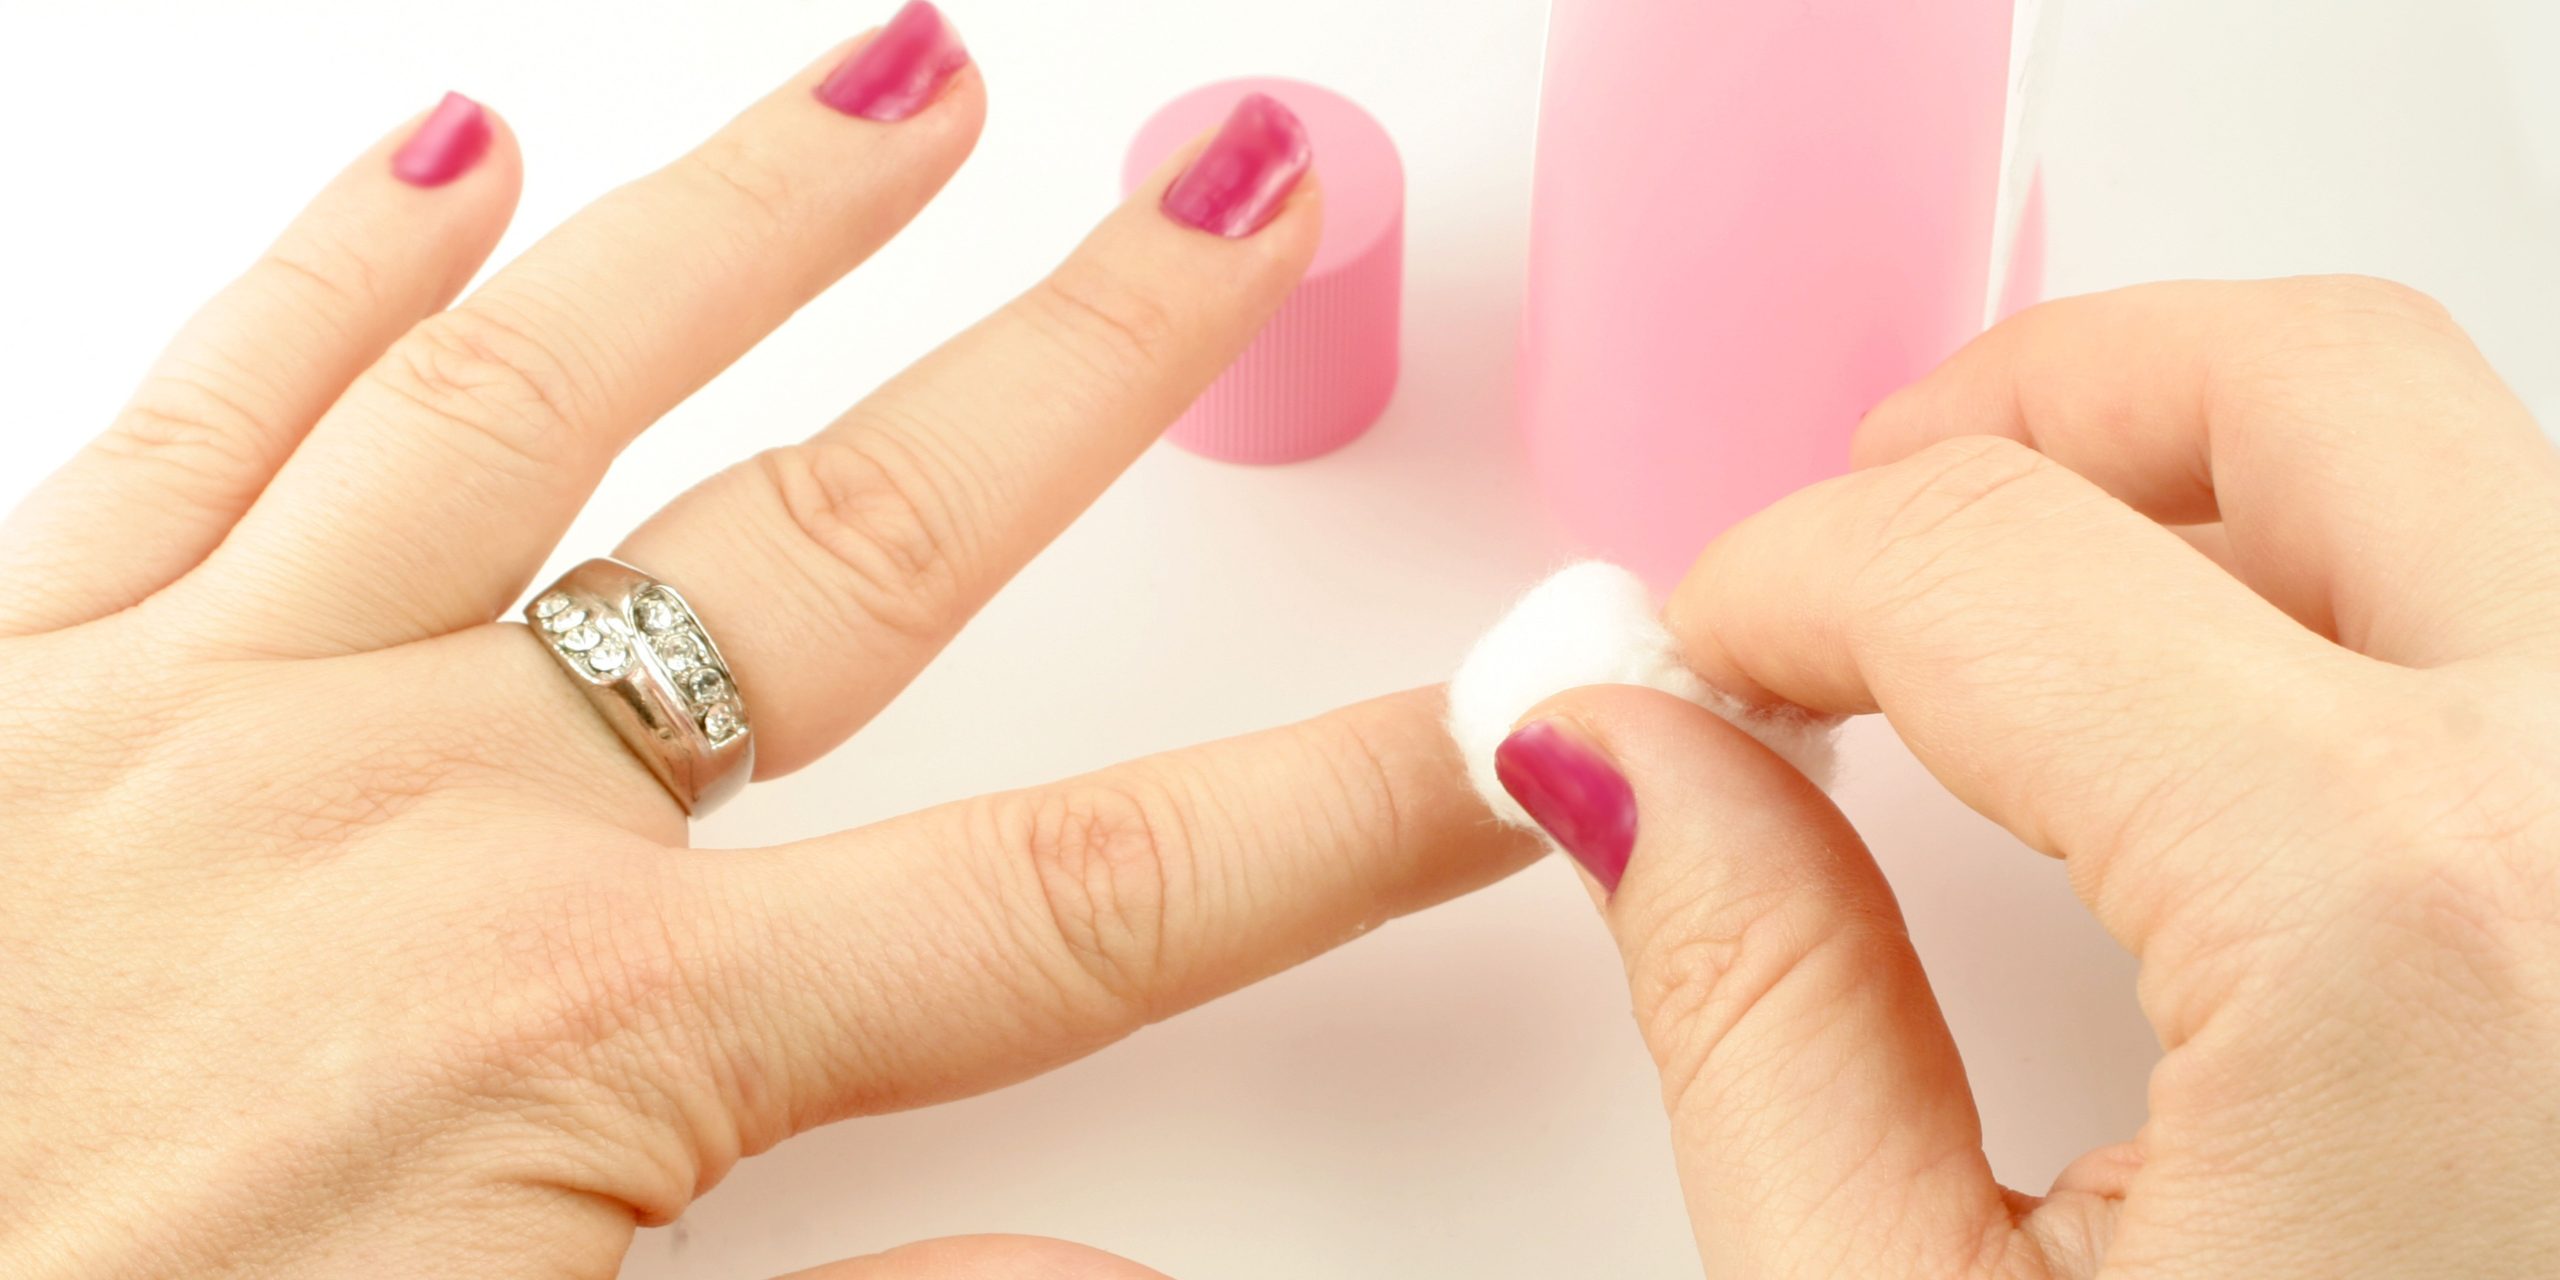
Step 2: Soak cotton pads in acetone
Take a few cotton pads and soak them in acetone. Make sure they are saturated but not dripping.
Step 3: Place the soaked cotton pads on each nail
Take one soaked cotton pad and place it on top of each nail, ensuring that it covers the entire surface.
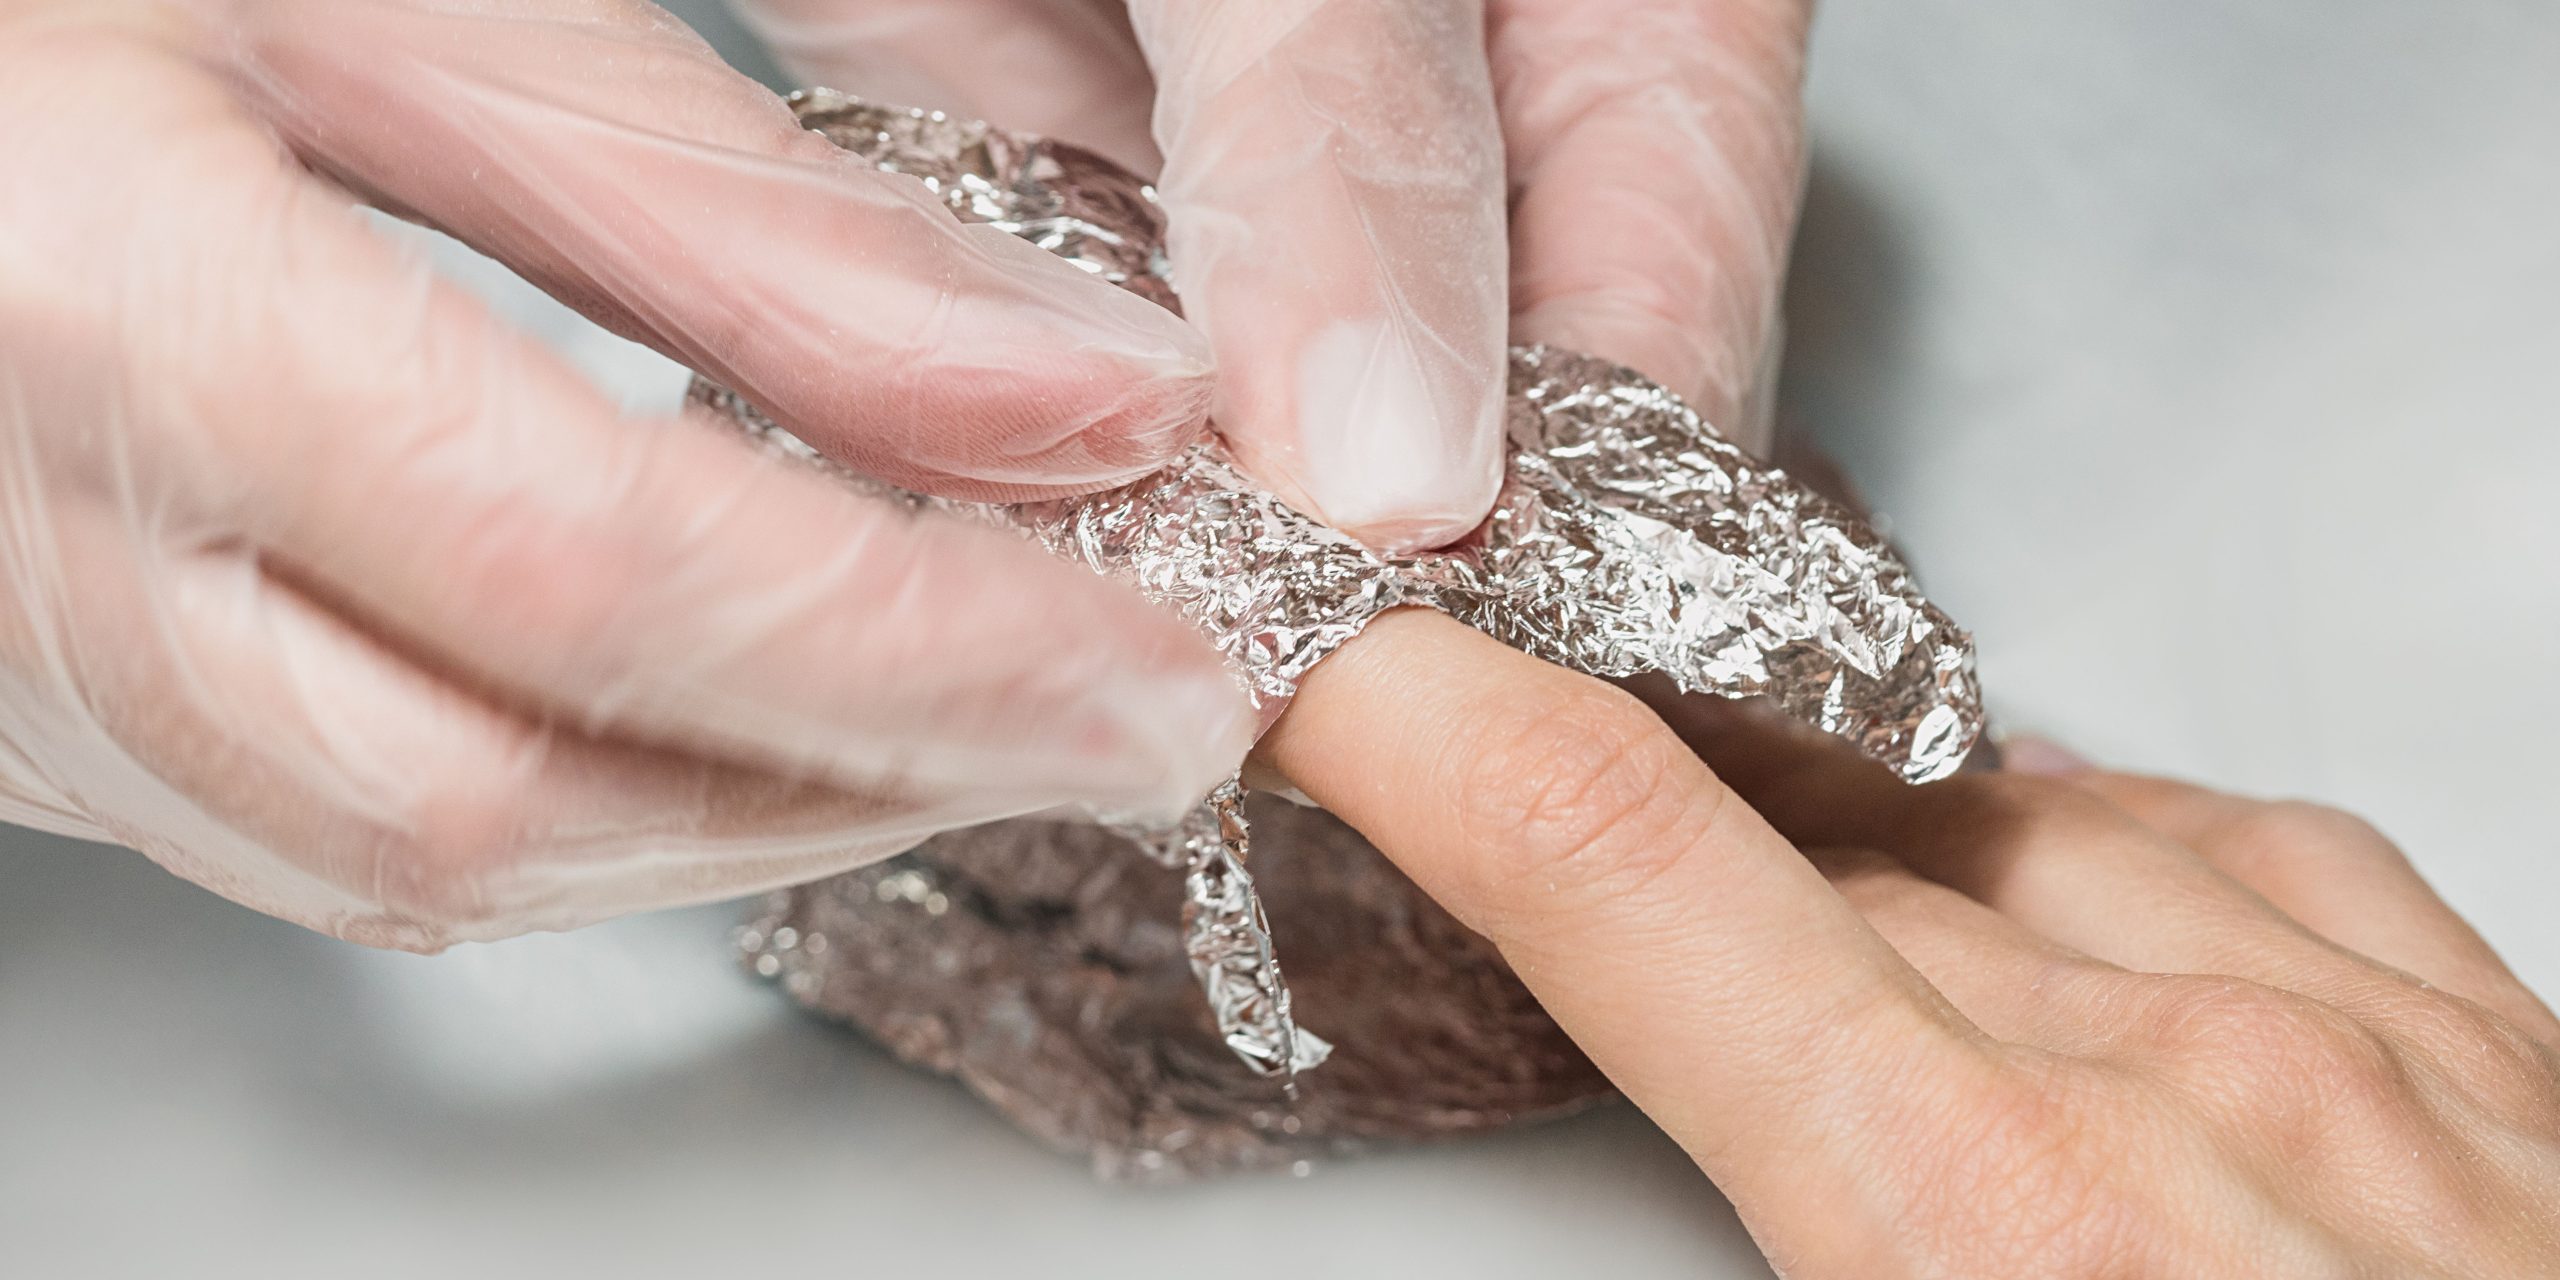
Step 4: Wrap each finger with aluminum foil
Wrap each finger tightly with a small piece of aluminum foil. The foil will help create a barrier, trapping the heat and accelerating the removal process.
Step 5: Let the nails soak for 15-20 minutes
Sit back and relax while the acetone works its magic. Let your nails soak for approximately 15-20 minutes to allow the dip powder to soften and loosen.
Step 6: Gently remove the foil and cotton pads
After the soaking time, carefully remove the foil wraps from each finger. You may need to apply slight pressure while unwrapping to ensure any remaining dip powder is removed.
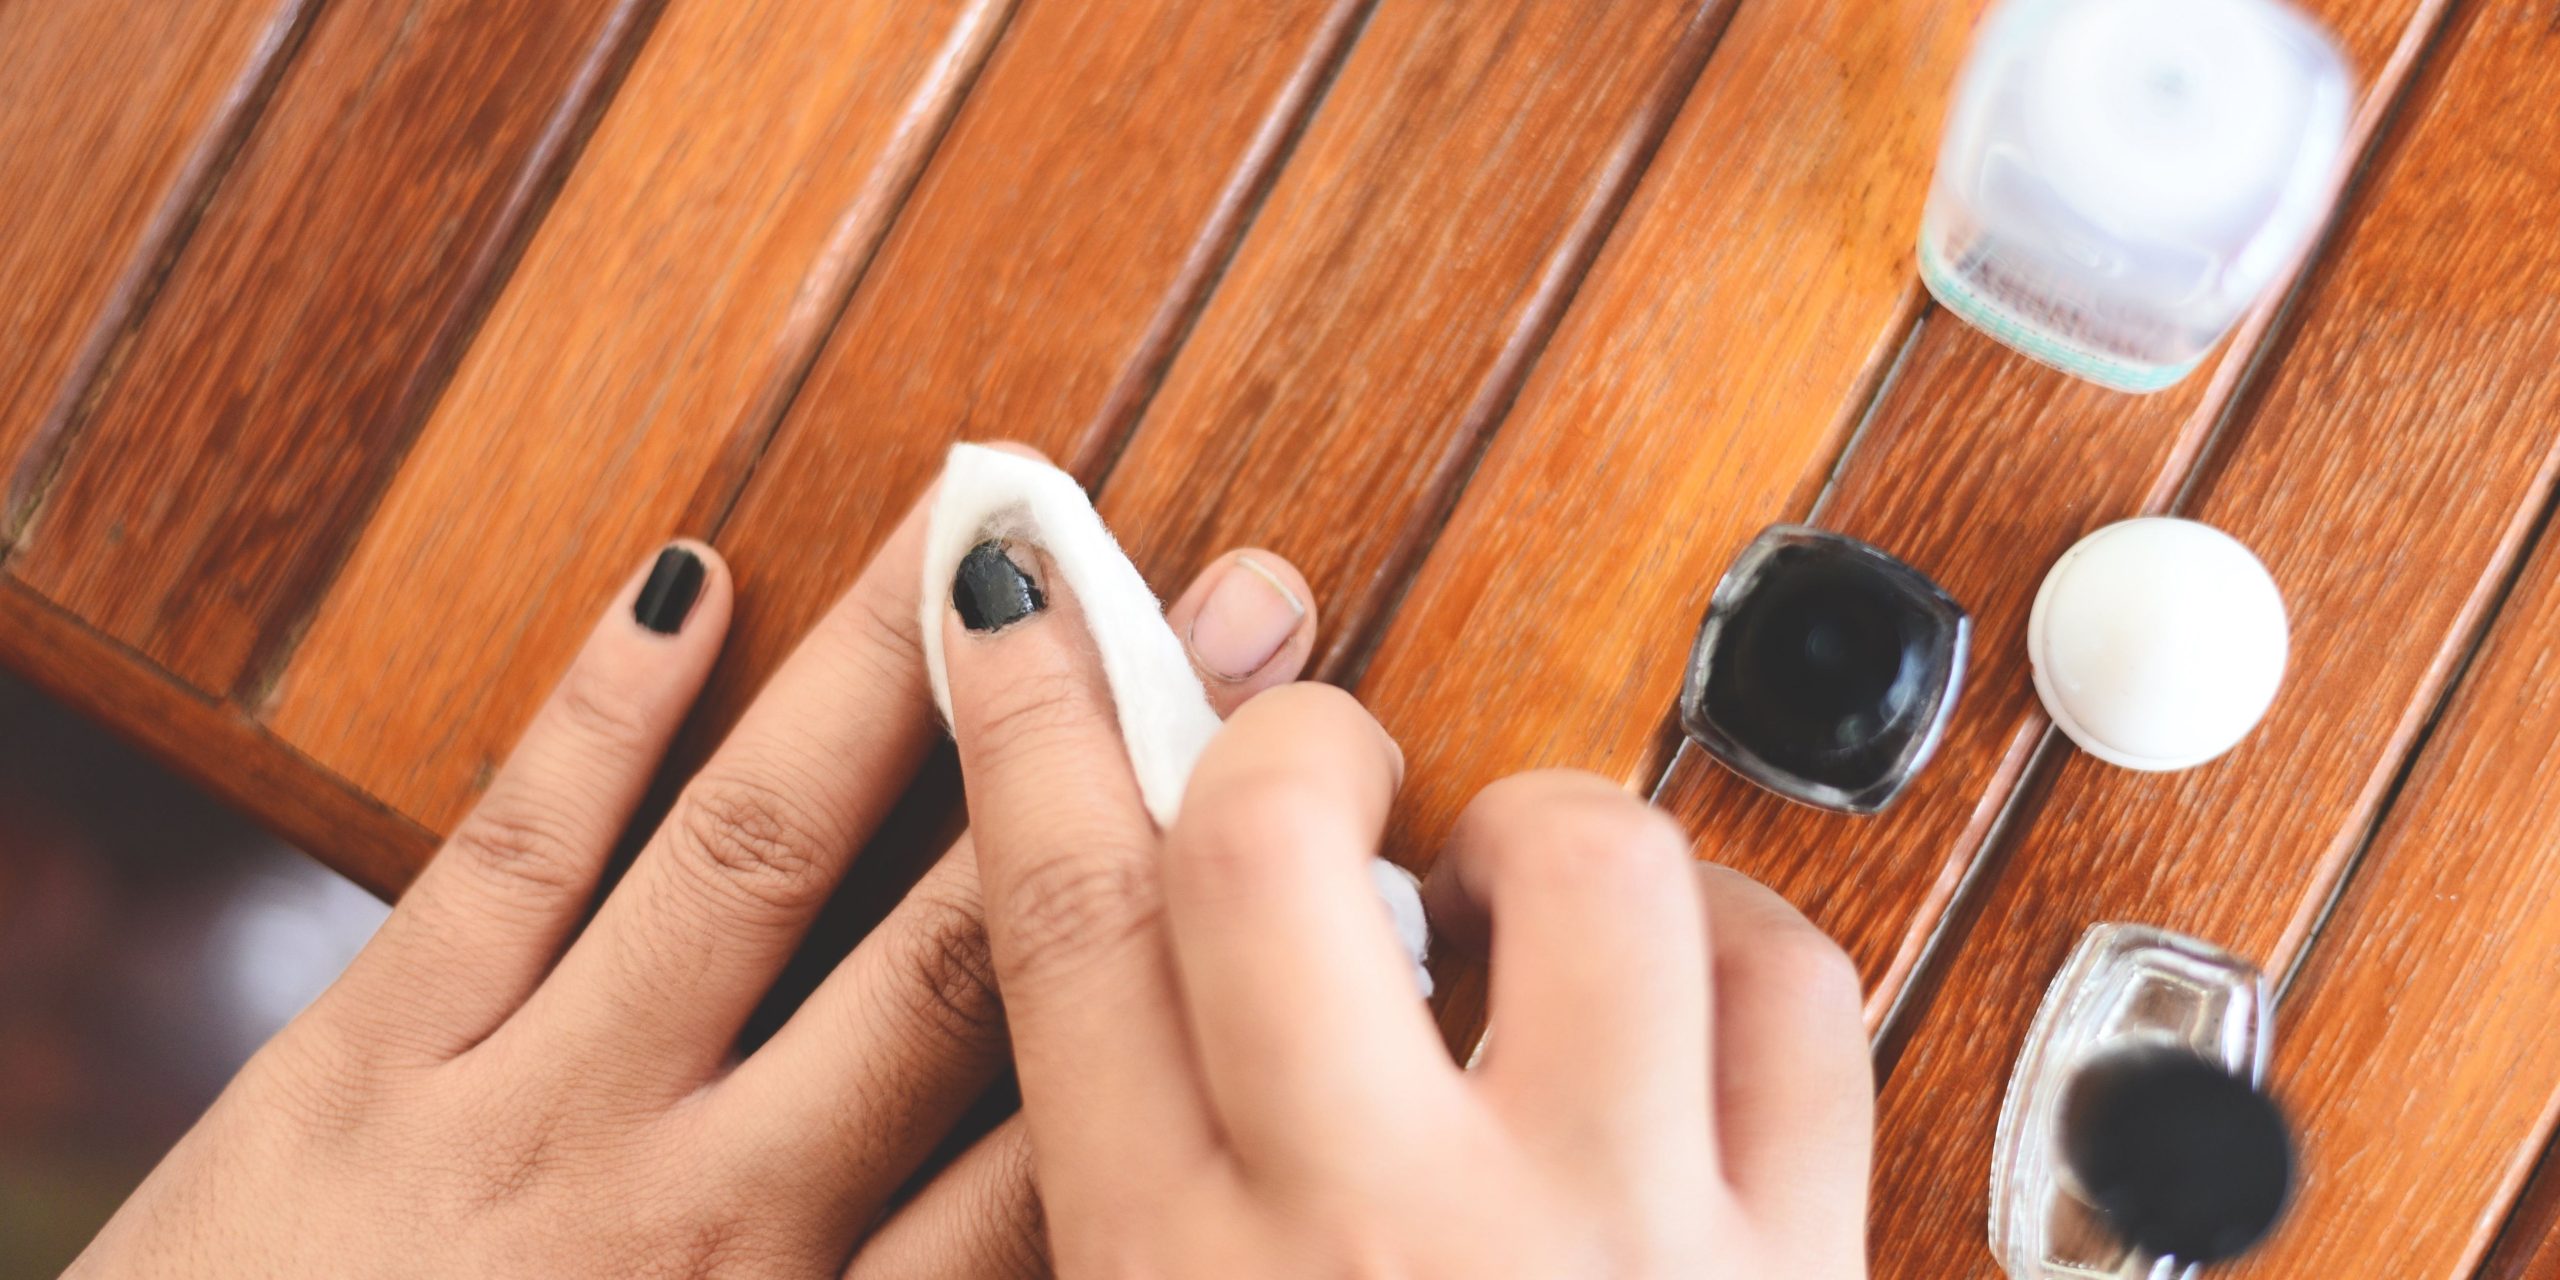
Step 7: Use a cuticle pusher to remove the softened dip powder
Once the foil wraps are removed, use a cuticle pusher to gently scrape off the softened dip powder from your nails. Be cautious not to apply too much pressure or scrape too vigorously, as this can damage the natural nail.
Step 8: Buff the nails to remove any remaining residue
With a buffing block or nail file, gently buff your nails to remove any remaining dip powder residue. Take care not to over-buff or file too aggressively, as this can weaken your natural nails.
Step 9: Apply a nourishing cuticle oil
To complete the removal process, apply a nourishing cuticle oil to your nails and cuticles. Massage the oil gently to promote hydration and nourishment, which helps restore the strength and health of your natural nails.
Method 2: Acetone Soaking Method

Another effective method for removing dip nails is the acetone soaking method. This technique involves soaking the nails in a bowl of acetone to dissolve the dip powder. Here’s a step-by-step breakdown:
Step 1: Buff the surface of the nails
As with the foil-wrap method, start by gently buffing the surface of your dip nails to remove the shiny topcoat and allow the acetone to penetrate the dip powder effectively.
Step 2: Fill a bowl with acetone
Take a bowl and fill it with enough acetone to submerge your nails fully. Make sure the acetone is deep enough to cover your nails entirely.
Step 3: Soak your nails in the acetone
Place your hands in the bowl of acetone and let your nails soak for approximately 10-15 minutes. This soaking time allows the acetone to break down the dip powder and soften it for easy removal.
Step 4: Use a cuticle pusher to remove the softened dip powder
Once the dip powder has softened, use a cuticle pusher to gently scrape off the dissolved dip powder from your nails. Be cautious not to use excessive force or scrape too aggressively, as this can harm your natural nails.
Step 5: Repeat the soaking process if necessary
If there is still some dip powder residue left on your nails, repeat the soaking process for another 5-10 minutes to ensure complete removal. Patience is key here!
Step 6: Gently buff the nails to remove any remaining residue
After removing the dip powder, gently buff your nails to remove any remaining residue. Be gentle and avoid over-buffing to prevent weakening your natural nails.
Step 7: Wash and dry your hands
After the removal process, wash your hands thoroughly with warm water and mild soap. This step helps remove any remaining acetone or dip powder residue.
Step 8: Apply a nourishing cuticle oil
To nourish and replenish your nails, apply a nourishing cuticle oil after washing and drying your hands. Massage the oil gently onto your nails and cuticles to promote hydration and prevent dryness.
Method 3: Combination Method
The combination method offers the best of both worlds, combining the benefits of the foil-wrap and acetone soaking methods. This technique ensures thorough removal and leaves your nails feeling clean and refreshed. Here’s how to do it:
Step 1: Buff the surface of the nails
Begin by gently buffing the surface of your dip nails to remove the topcoat and allow the acetone to penetrate the dip powder effectively.
Step 2: Soak cotton pads in acetone
Soak several cotton pads in acetone, ensuring they are saturated but not dripping.
Step 3: Place the soaked cotton pads on each nail
Take the soaked cotton pads and place them on top of each nail, ensuring they cover the entire nail surface.
Step 4: Wrap each finger with aluminum foil
Wrap each finger tightly with a small piece of aluminum foil, securing the soaked cotton pads in place. The foil helps create a seal, intensifying the removal process.
Step 5: Let the nails soak for 10 minutes
Let your nails soak in the acetone for approximately 10 minutes. This soaking time allows the acetone to break down the dip powder effectively.
Step 6: Gently remove the foil and cotton pads
After the soaking time, gently remove the foil wraps and cotton pads from each finger, using slight pressure if necessary.
Step 7: Use a cuticle pusher to remove the softened dip powder
Upon removing the foil wraps, use a cuticle pusher to gently scrape off the softened dip powder from your nails. Avoid applying too much pressure or scraping aggressively to protect your natural nails.
Step 8: Fill a bowl with warm soapy water
Fill a bowl with warm water and a gentle soap solution. This step helps to further cleanse and prep your nails.
Step 9: Soak your hands in the warm soapy water
Place your hands in the warm soapy water and let them soak for a few minutes. This soaking process helps to soften any remaining dip powder and make it easier to remove.
Step 10: Gently scrub your nails with a soft brush
Using a soft brush, gently scrub your nails to remove any remaining dip powder residue. Be careful not to scrub too vigorously, as this can damage the nail surface and cuticles.
Step 11: Rinse your hands and dry them
After scrubbing your nails, rinse your hands with clean, warm water to remove any soap residue. Dry your hands thoroughly with a soft towel.
Step 12: Apply a nourishing cuticle oil
To complete the removal process, apply a nourishing cuticle oil to your nails and cuticles. Massage the oil gently to moisturize and replenish your nails after the removal process.
Aftercare Tips

After removing your dip nails, it’s important to follow these aftercare tips to maintain the health and strength of your natural nails.
Moisturize your nails and cuticles daily
Nourishing and moisturizing your nails and cuticles is essential to promote nail health. Apply a quality cuticle oil or serum daily to keep your nails hydrated and prevent dryness.
Use a strengthening nail polish or treatment
Consider using a strengthening nail polish or treatment in the weeks following the removal process. These products help fortify your natural nails and prevent them from becoming brittle or weak.
Avoid using harsh chemicals or acetone-based products
To maintain the health of your natural nails, avoid exposing them to harsh chemicals or acetone-based products. These can dry out and weaken the nails, making them more susceptible to damage.
Keep your nails trimmed and filed
Regularly trim and file your nails to maintain a desired shape and prevent them from becoming too long or prone to breakage. Shorter nails are generally stronger and less likely to break or chip.
Take breaks from wearing any nail enhancements
After removing dip nails, give your natural nails a break from wearing any nail enhancements. This break allows your nails to breathe and recover from the impact of these enhancements, encouraging natural growth and strength.
Maintain a healthy diet for strong and healthy nails
Eating a balanced diet rich in vitamins and nutrients is crucial for overall nail health. Foods high in biotin, iron, and protein contribute to strong and healthy nails, so make sure to incorporate them into your daily diet.
Precautions
While removing dip nails at home can be a cost-effective and convenient option, it’s important to take certain precautions to protect your natural nails and overall nail health.
Do not forcefully scrape or peel off the dip nails
Avoid forcefully scraping or peeling off the dip nails, as this can cause significant damage to the nail bed. Be patient and follow the recommended removal techniques to ensure a safe and successful process.
Avoid using metal tools directly on the nail bed
When using a cuticle pusher or any other tools during the removal process, avoid applying excessive pressure or using metal tools directly on the nail bed. This can lead to injuries or damage to the natural nail.
Consult a professional if experiencing any nail or skin issues
If you encounter any nail or skin issues during the removal process or afterward, it’s always advisable to consult a professional nail technician or dermatologist. They can provide personalized advice and guidance based on your specific situation.